installing an internal tough drive is likely one of the less demanding upgrades available—and is commonly a better choice than the use of external drives that may be dropped or misplaced.
The manner usually requires no greater than mounting it, connecting a couple of cables, and formatting the pressure to be used. still, there are a number of things remember to be aware of to make installation as smooth as viable.
setting up a tough force to your computer doesn't always comply with the same method as installing an SSD. if you've opted for a great-state force, make certain to check out our companion courses explaining a way to set up an SSD in a computer and a computing device. SSDs are inclined to present plenty quicker speeds than complicated drives, however hard drives offer vastly greater means at lower fees.
earlier than we dive into the nitty-gritty particulars, if you're trying to find a hard power to deploy on your desktop, these are some highly regarded alternatives. All three spin at 7,200 revolutions per minute (RPM), the fastest pace attainable in customer hard drives.
Now let's get this challenging power installed to your computer.
power cages, bays, and mounting alternativesinner 3.5-inch difficult disk drives are customarily installed in a pressure cage or in an purchasable force bay. Placement and orientation of the cages or bays will vary from case to case. essentially the most usual location is on the lessen front, close the intake fans and far from other components. drive cages/bays will most commonly be installed perpendicular to the bottom of the chassis, while drives installed in the cages usually sit down parallel to the bottom of the case.
 Marco Chiappetta
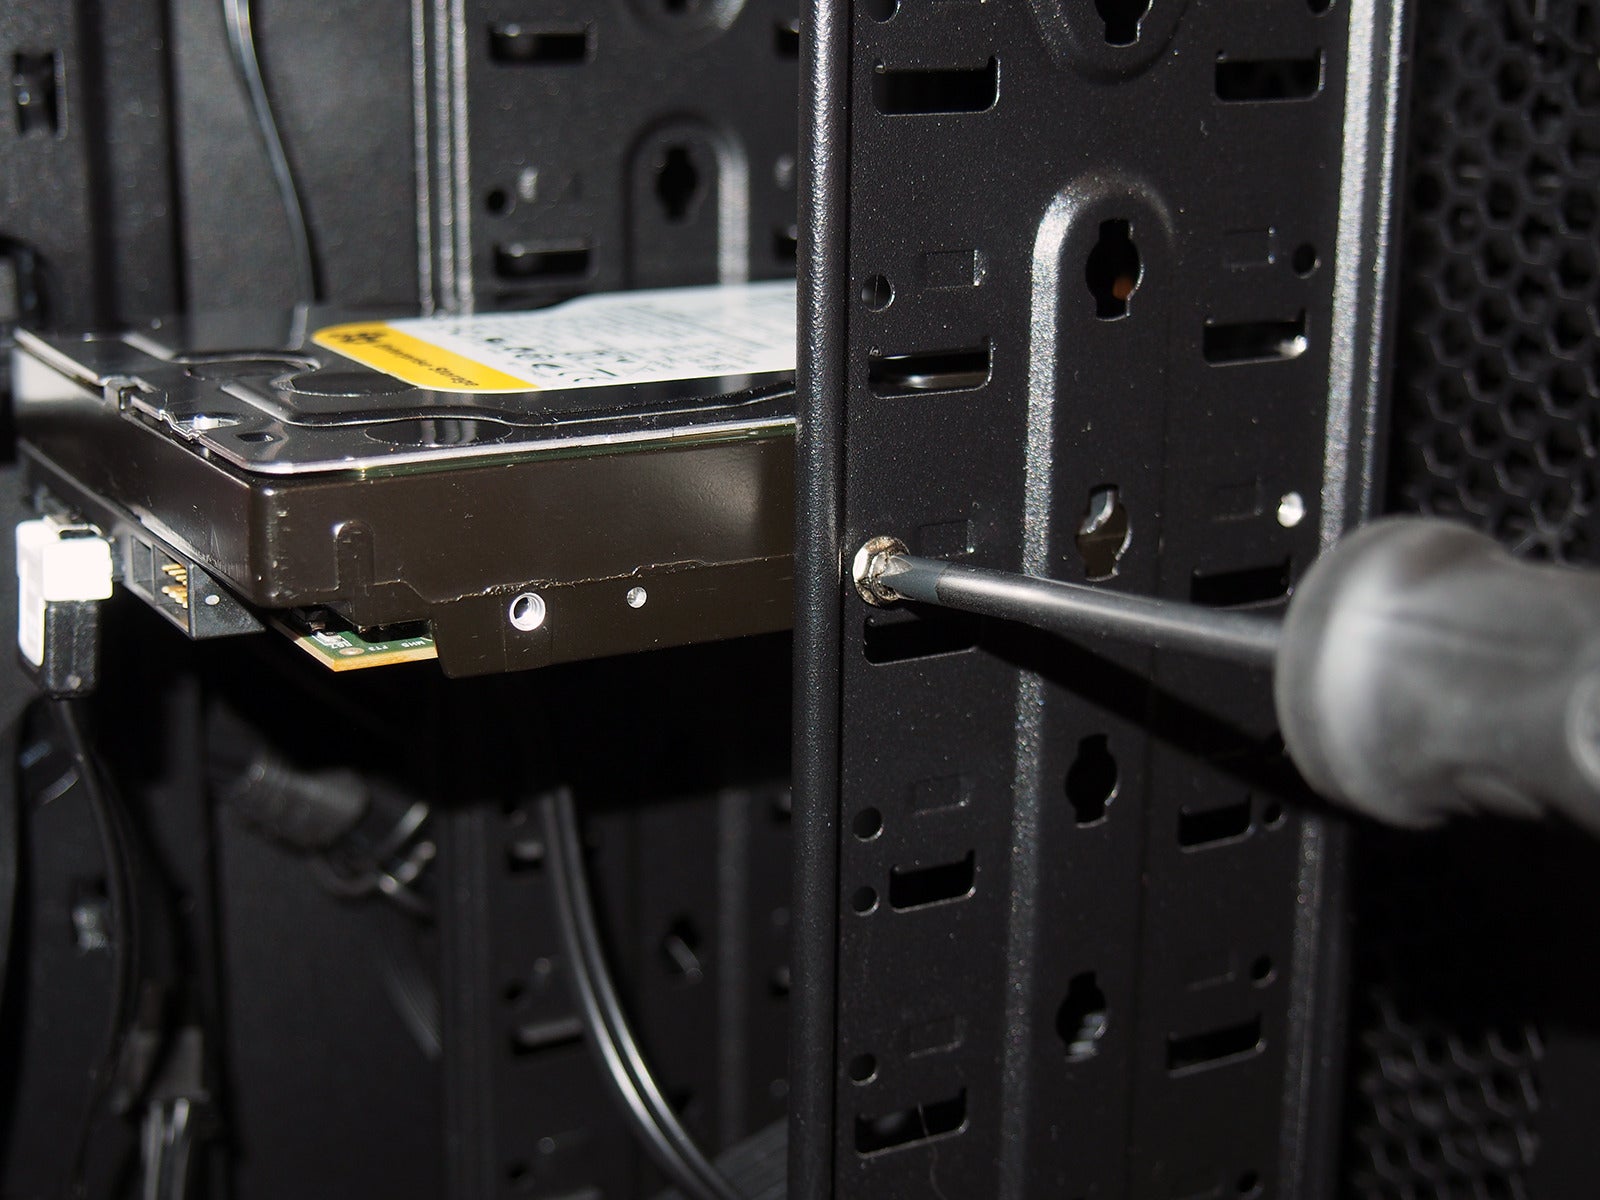
 Screws are the optimum approach to comfy your hard power into your case's drive cage. Magnet-tipped screw drivers can aid retain you from shedding screws in complicated-to-attain places.
In mainstream cases, drive connectors will usually element to the rear. In fanatic-classification cases, it's becoming greater commonplace to look the power's connectors dealing with the correct facet, making it less demanding to route and hide cables in the back of the motherboard tray. Some enthusiast-classification additionally instances supply clients the capability to eradicate power cages or to mount them in distinctive positions to optimize air circulate and simplify cable administration.
Mounting your difficult powerbodily mounting the complicated drive in a computer is likely the most complex part of the setting up technique.
Securing the pressure to a cage constantly requires four screws on the facets or bottom of the force. Many situations—chiefly enthusiast instances—use device-much less trays that hang the drives with essential pins and clips.
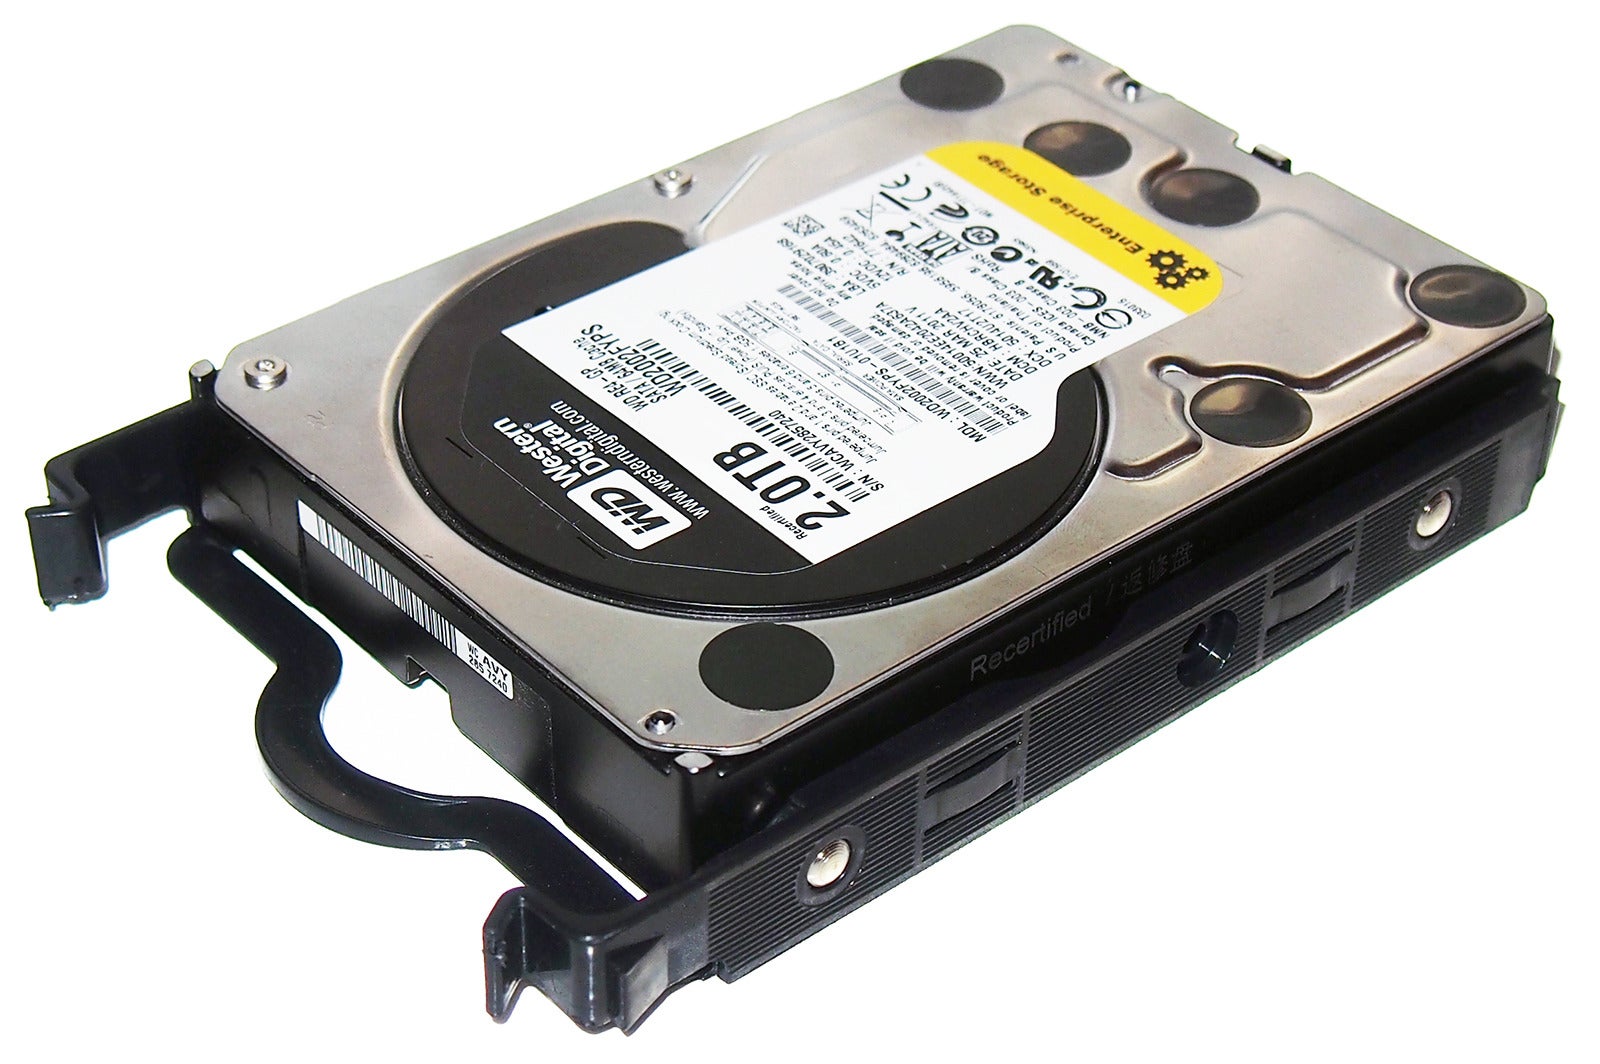
Some instances come with device-less brackets that make mounting challenging drives truly handy. besides the fact that children, these brackets are often much less comfy than traditional screws.
the usage of screws is the more potent mounting formula, but tool-much less trays are best for systems that won't be moved round much.
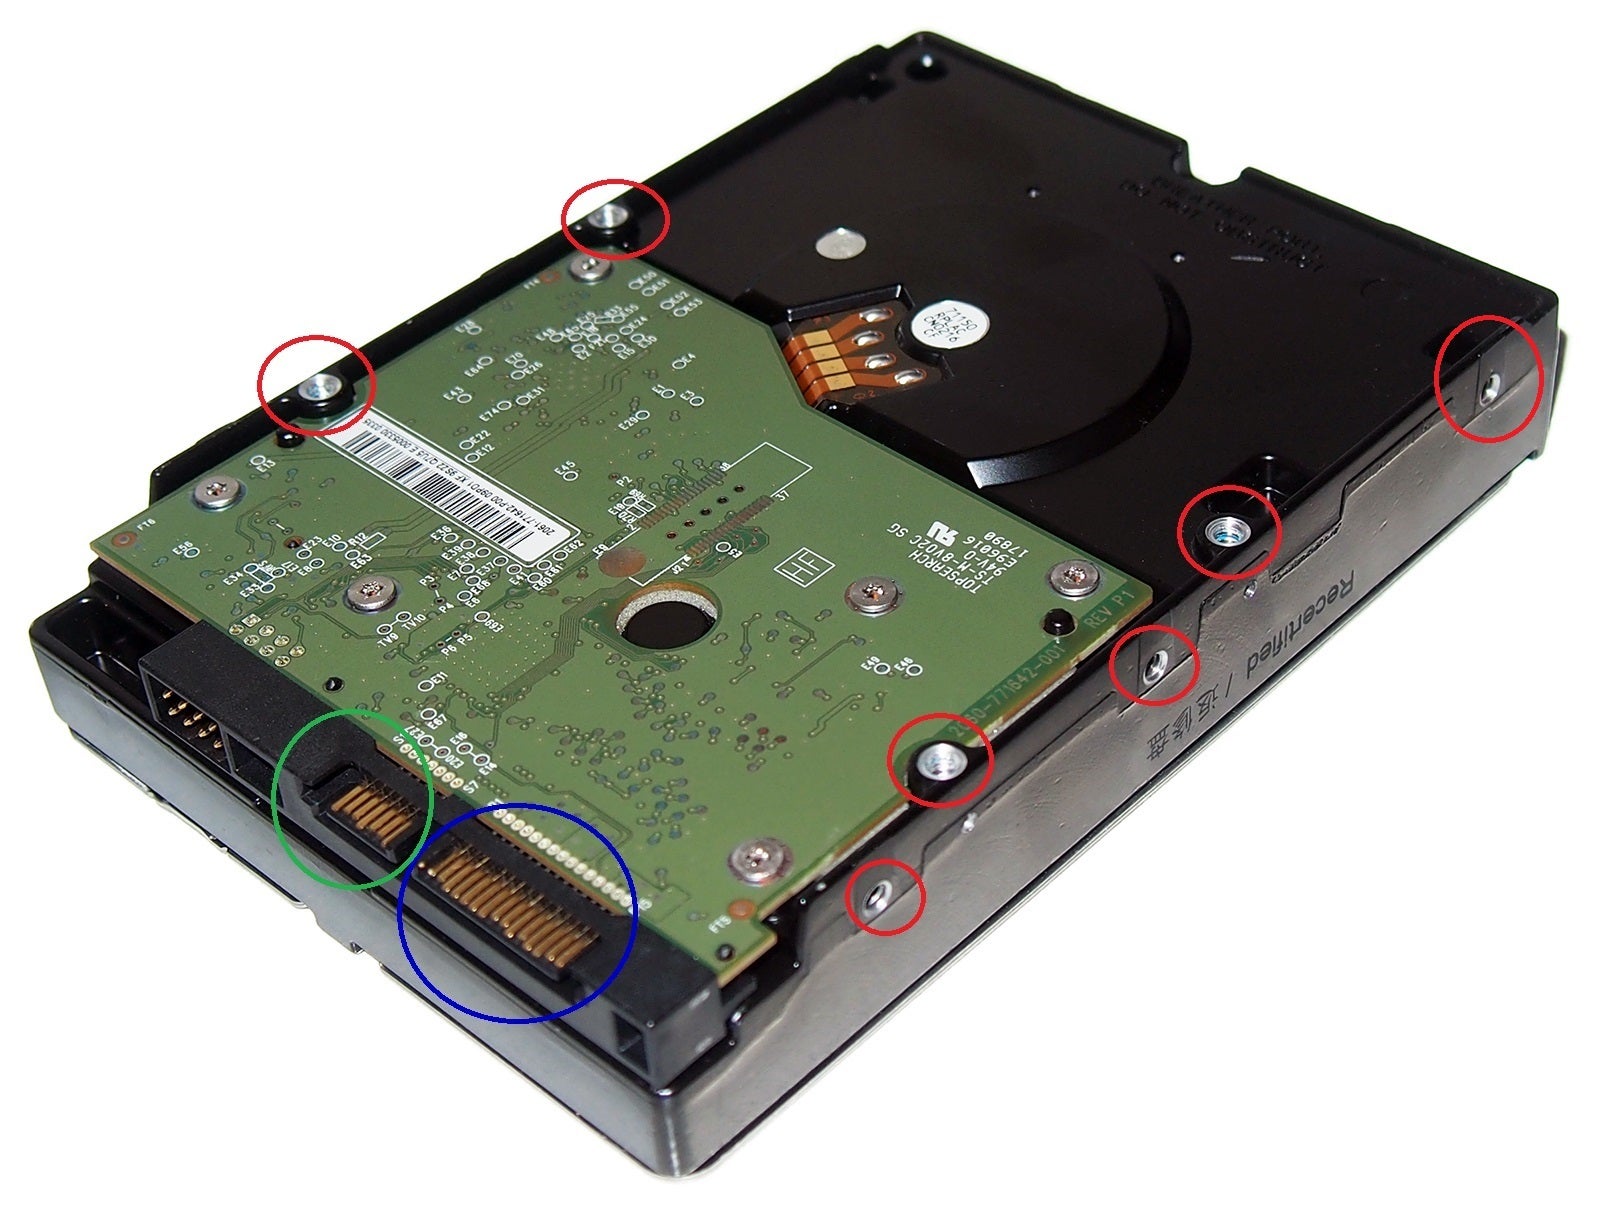
This complicated pressure is flipped upside-right down to show its materials. Seven of the ten screw holes are circled in red, whereas SATA vigor and records connections are circled in blue and green, respectively.
Drives final longer after they reside quality and funky. When mounting drives in a equipment, are attempting to depart as a good deal space between them as possible to maximise airflow over the tops and bottoms. Positioning the drives at once in entrance of an intake fan also helps.
join the hard drives with SATAonce the drive is established, connecting it to your device is short and straightforward.
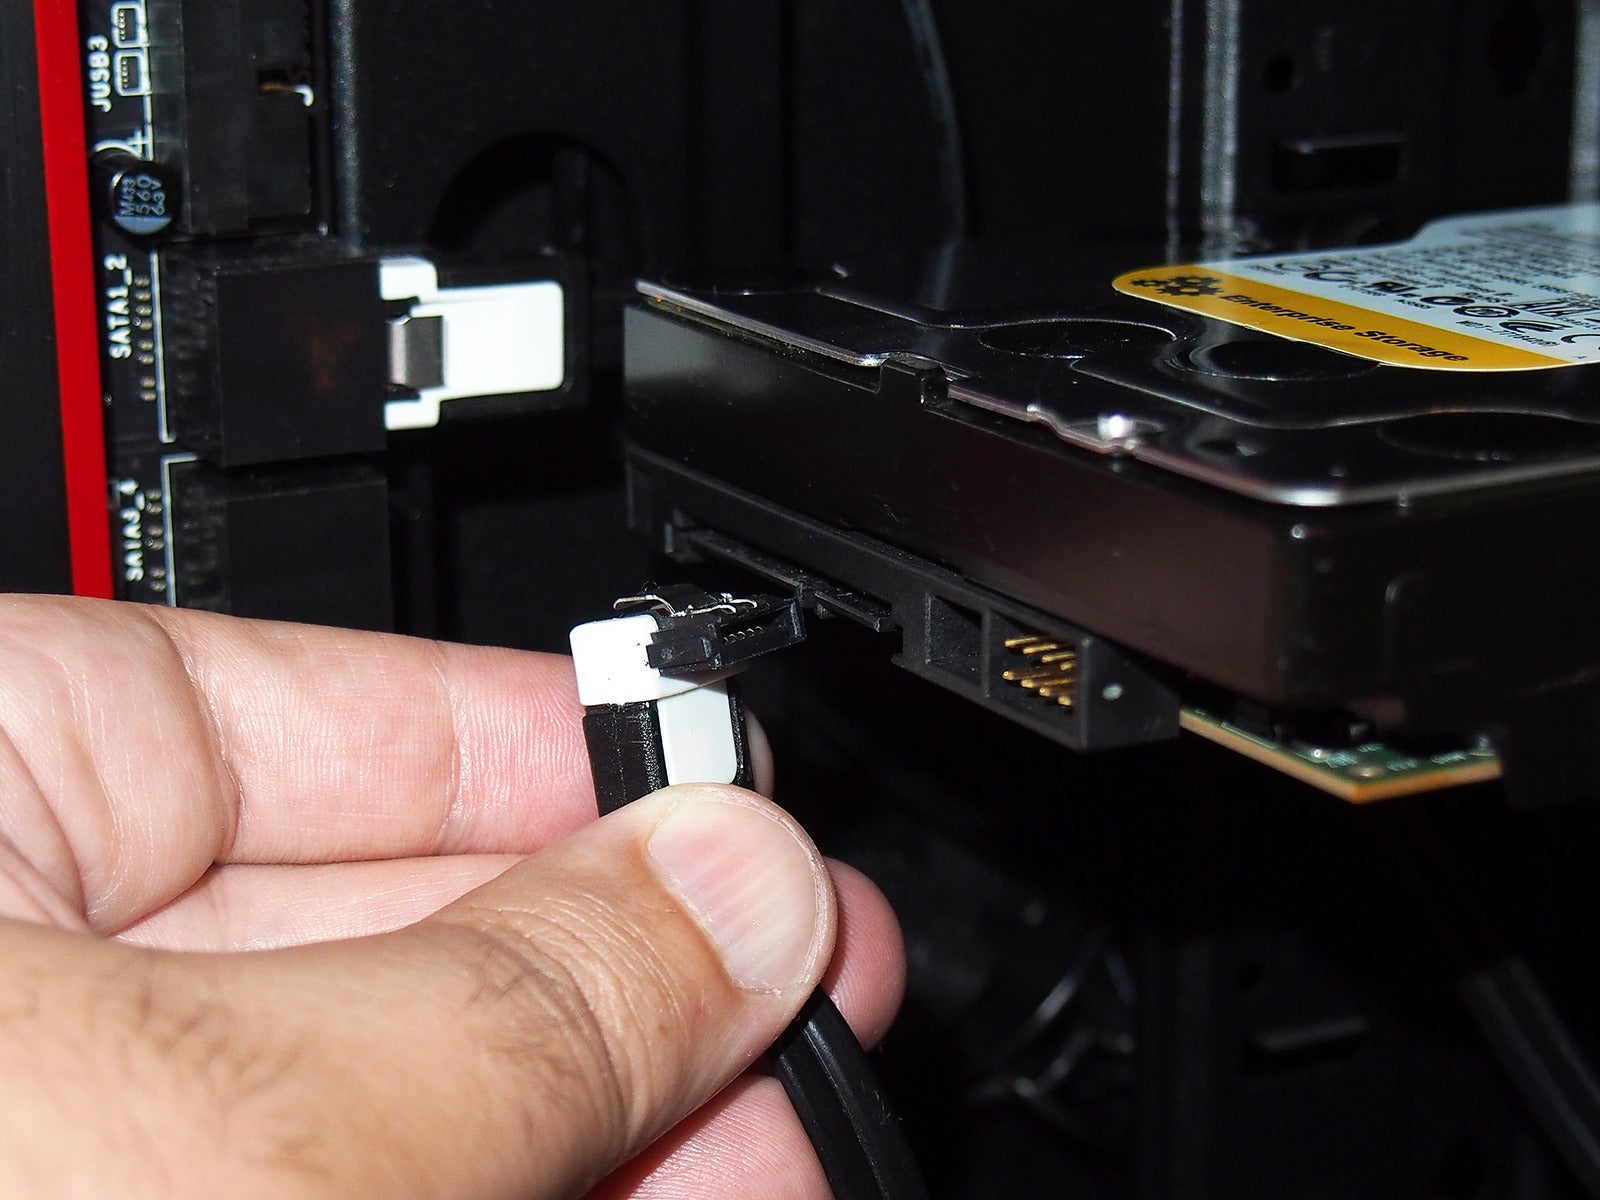
very nearly all new laptop complicated drives bought these days use the SATA interface (except you're dealing with servers). SATA uses primary cables which are keyed to fit on the drive and motherboard connector one way.
join one conclusion of the SATA cable to the force, and the different end to an available SATA port to your motherboard, and also you're midway there.
 Marco Chiappetta
 Some SATA statistics cables include L-fashioned ends, which may support hold cables tidy.
You may also locate the SATA cables covered together with your new power or motherboard feature different connectors: straight ends or right-angle (L-fashioned). Some can also have steel retention clips, whereas others don't. The shape of the connector makes no change in performance.
i admire to make use of SATA cables with right-angle connectors on the pressure facet, offered there is satisfactory clearance between any drives in the equipment. using right-attitude connectors on the motherboard facet will will outcome in blocked ports, because the connector might also overlap adjacent ports.
are attempting to find SATA cables with metal retention clips, as a result of they assist preserve the connectors secured. Most SATA 3 (6-gigabit)-compliant cables will usually come with the clips.
 Marco Chiappetta
 The SATA vigor cable connection appears comparable to the data cable, but is longer. The connector is keyed to healthy only one approach.
if you're performed connecting the SATA cable, you'll should connect the power to your energy deliver unit (PSU). The SATA vigor cable from your PSU, just like the SATA facts cable, is keyed to fit onto the pressure one-approach. as long as you don't force it, there's actually no manner to clutter it up.
prepare the difficult power to be usedwhen you've mounted and connected the power, vigour up your gadget and enter the BIOS/UEFI. you could continually entry the BIOS/UEFI by means of urgent the DEL or F2 keys correct after powering up the gadget. continually, your system will display a message alongside the traces of "Press DEL to enter Setup." check with your motherboard's manual for the suitable key.
in the BIOS, go to the typical equipment Settings menu or the built-in Peripherals > SATA menu to look the entire drives installed in the gadget. If all your pressure controllers are enabled and the power is correctly linked (and useful), it's going to be listed in the BIOS.
If the power isn't listed, shut down your computing device. Double-examine all the connections, boot into the BIOS and verify once more. If the pressure still isn't showing up and all the connections are comfy, are trying plugging the SATA facts cable into a special port on the motherboard.
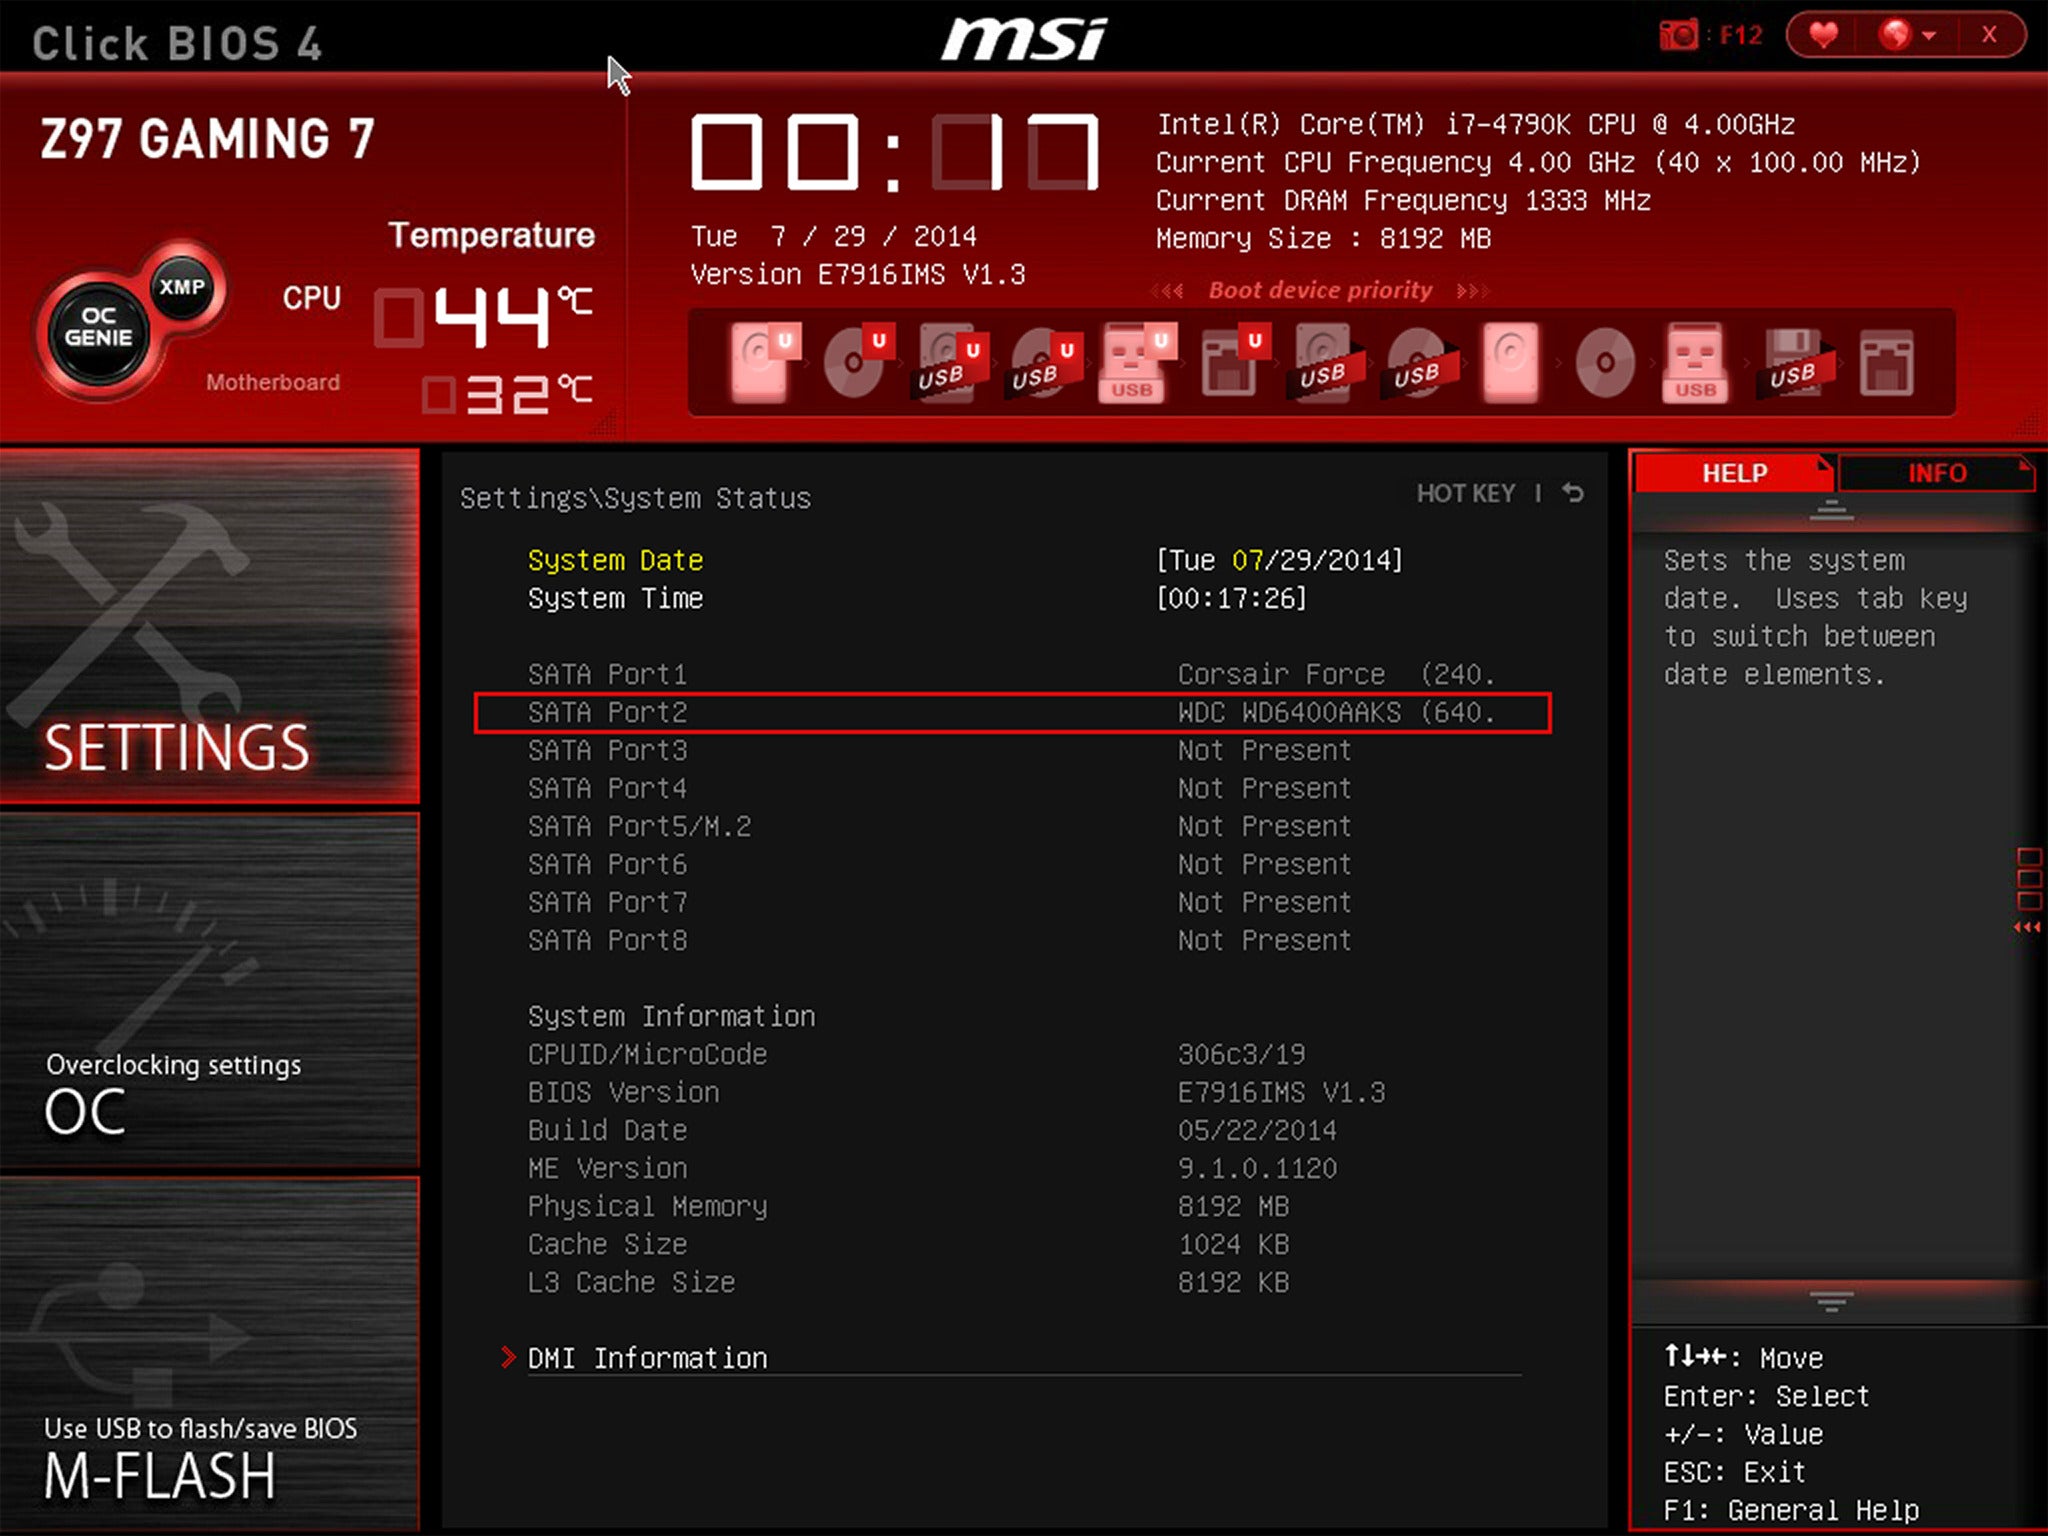
The UEFI BIOS will demonstrate all complicated drives that are linked appropriately and detected by means of the device. BIOS and UEFI interfaces can vary in accordance with the motherboard make and model, so examine your motherboard guide or manufacturer web site for details.
To verify that home windows recognizes the drive, open up device supervisor. In windows 10, right-click on the windows button for your computer and choose machine supervisor. investigate for the drive in the Disk Drives area.
in case you boot into windows after installation the pressure, you might also see the brand new Hardware discovered wizard pop up if the drive is detected. The final thing you should do is partition and layout the power.
And with that, the pressure should be obtainable for use. if you cut up the force up into diverse partitions, be sure you see a few drives appear in File Explorer, each and every with its own drive letter and label.
notice: for those who purchase some thing after clicking links in our articles, we can also earn a small commission. examine our affiliate link coverage for extra particulars.
Posting Komentar
Posting Komentar